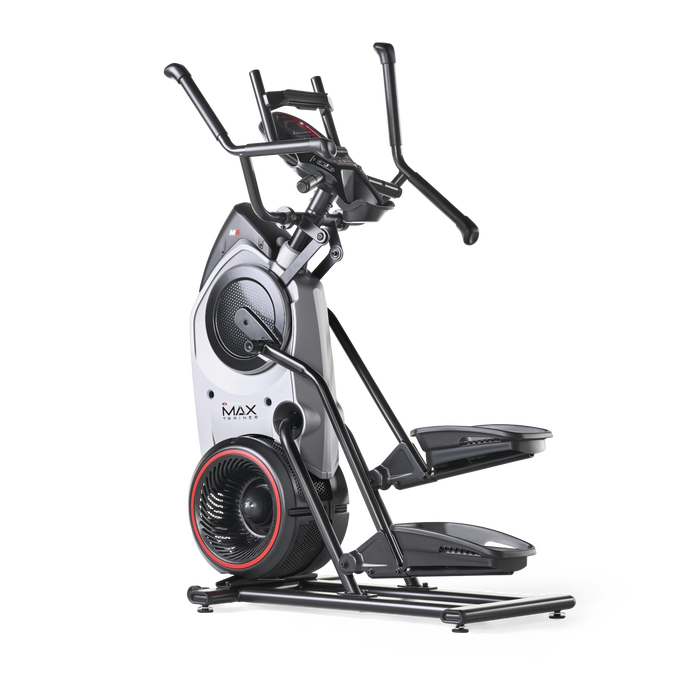
BowFlex HVT Assembly Video
Video Transcript:
BowFlex HVT assembly video. This video is intended to be a supplement to the assembly manual provided with your product. Please be sure to read your assembly manual thoroughly as it contains important safety warnings and assembly tips.
Before beginning assembly of your BowFlex HVT, please open all boxes to confirm that all parts necessary are present.
Step 1: safely remove the frame assembly from the shipping box and stand it upright in the intended workout area.
Step 1A: remove the upper shroud from the frame assembly. Do not disconnect the indicated ropes and snap rings until instructed. Remove all packaging from the parts to assist with assembly.
Step 2: safely remove the left shipping support.
Step 2A: attach the left platform frame to the frame assembly. Only finger tighten the hardware until instructed to fully tighten. Be sure not to pinch the ropes during assembly.
Step 3: safely remove the right shipping support.
Step 3A: attach the right platform frame to the frame assembly. Only finger tighten the hardware until instructed to fully tighten.
Step 4: flip the front platform frame and attach the platform corner shrouds.
Step 5: attach the front platform frame assembly to the platform frame. To assist with assembly, pivot the front platform frame assembly upward slightly until holes are aligned and install hardware.
Step 6: release the lower ropes from the snap hooks.
Step 6A: route the lower ropes through the platform frames.
Step 7: pivot, connect, and place the platform decking into the platform frame assembly. Start with the piece marked 1 and work outward.
Step 8: fully slide the platform decking away from the frame assembly.
Step 9: route the lower rope through the support arms.
Step 9A: attach support arms. Attach the upper hardware first. Only finger tighten hardware until instructed to fully tighten.
Step 9B: attach securing ball.
Step 10: tighten all hardware from previous steps.
Step 11: insert the top pulley arms into the frame assembly.
Step 11A: disconnect ropes and route the front ropes through the upper pulley arms. Attach securing ball to end of ropes.
Step 12: attach the middle pulley arms. Do not fully tighten hardware until all hardware has been started. Parts are marked with an R and L to assist with assembly.
Step 12A: route the middle ropes. Attach securing ball to end of ropes.
Step 13: attach the upper pulley shrouds to the upper pulley arms. Be sure the tab on the upper pulley shroud is behind the securing ball cage. Fully tighten all hardware installed previously from this point forward.
Step 14: attach the handlebars to the frame assembly.
Step 15: attach the upper rear shroud to the frame assembly.
Step 16: attach the middle pulley shrouds to the frame assembly. Parts are marked with an R and L to assist with assembly. Snap rear shrouds onto middle pulley assemblies first.
Step 17: attach the upper shroud to the frame assembly. Do not install hardware in lower openings. Do not fully tighten hardware until instructed.
Step 18: connect the cables between the console assembly and the frame assembly.
Step 18A: attach the console assembly to the frame assembly. Do not crimp cables. Tighten all hardware from previous steps.
Step 19: attach the lower pulley shrouds to the frame assembly.
Step 20: attach the lower grip holders to the frame assembly.
Step 21: connect the power input cables.
Step 21A: attach the lower rear shroud to the frame assembly. Be sure to remove any shipping cardboard before attaching. Do not crimp the cables.
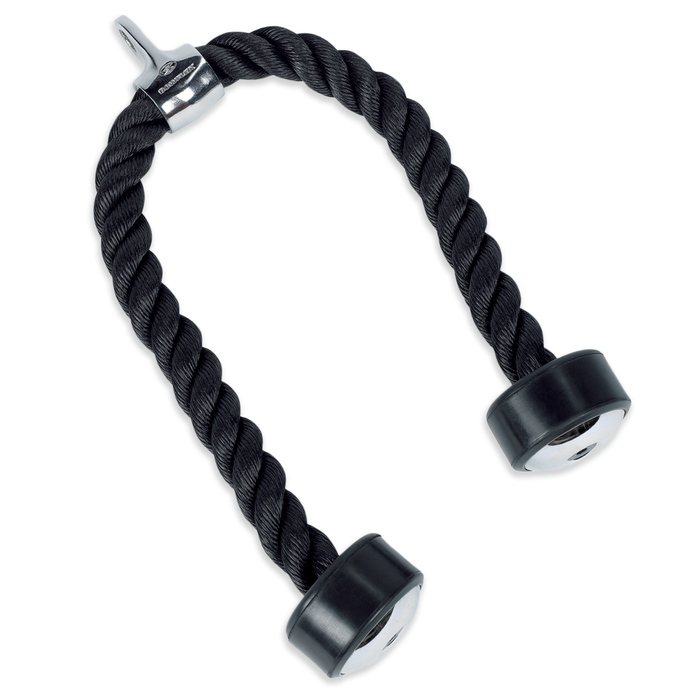
Step 22: carefully attach the hand grips to ropes. Keep hands out of snap hooks when attaching hand grips.
Step 23: attach the power adapter to the frame assembly. Do not crimp any cables.
Step 24: inspect the machine to ensure all hardware is tight and components are properly assembled.
Enjoy your BowFlex HVT!

